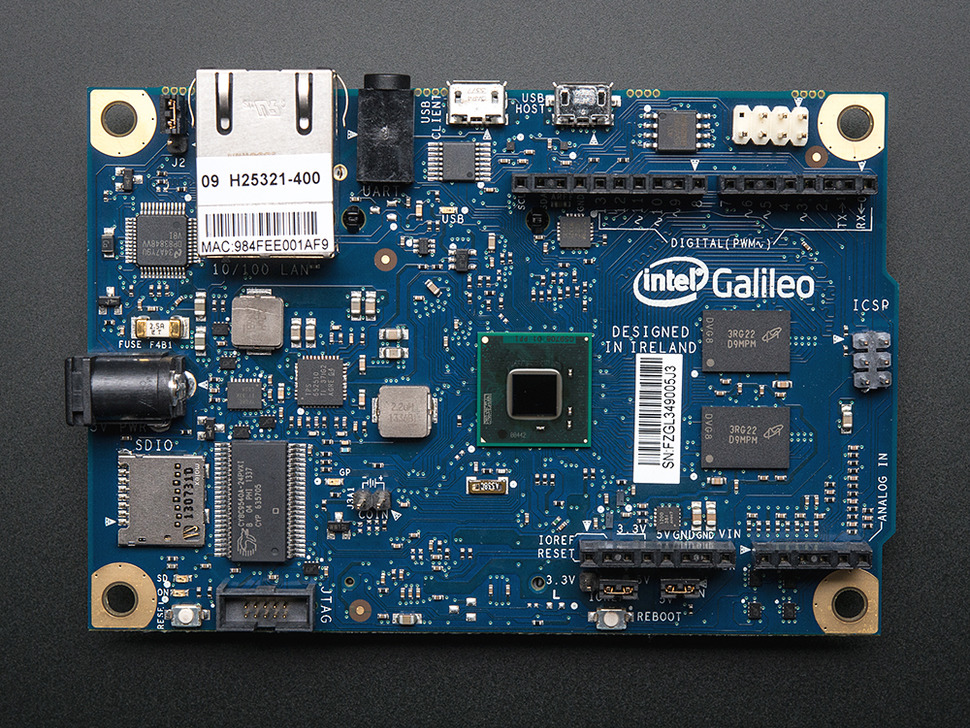
Galileo Gen 1 Board
Installing the SD Image
Since I want to go beyond using the board as a glorified Arduino board, I first downloaded the Board Boot Image (iot-devkit-latest-mmcblkp0.direct.bz2) from https://software.intel.com/en-us/iot/downloads. (ALT). This image needs at least a 2GB microSD card to install. The instructions to install can be found Here (ALT).On First boot of the new image, I had issues with the Ethernet connection. After fighting with it for some time I realized that the Galileo board did not have the most recent firmware. Had to get download and install the most recent Galileo Arduino IDE (IDE 1.5.3 firmware 1.0.4) THIS WEBSITE'S Instructions and then Updating the firmware (as per Step 4 from the webpage). It was interesting when I tried the image I created on a second board, the symptoms were different, but the fix was the same (upgrade the firmware).
I thought I had done this previous, but after updating the firmware, the above image worked with the ethernet connection.
At this point it is useful to have a 5mm to Serial Cable. You can build one diagram below:
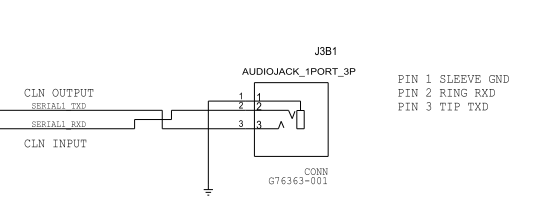
or ordering from Amazon.com
To connect to the Galileo board, connect to your com port. I use putty and set it up for serial port at 115200baud. Use the login "root" and no password is required.
Since I was using an 8GB microSD and the image only used a small portion of the card, I expanded the partition to fill the card using the procedure I got from HERE and summarized below: First, find the name of the microSD device by using the command 'lsblk'. My output was as follows:
NAME        MAJ:MIN RM  SIZE RO TYPE MOUNTPOINT
mmcblk0     179:0    0  7.4G  0 disk
|-mmcblk0p1 179:1    0   51M  0 part /media/card
`-mmcblk0p2 179:2    0 1000M  0 part /
Now:
- Start "fdisk" with the command "fdisk /dev/mmcblk0" (the mmcblk0 designation might be different)
- Use the "p" command to see the current partitions (There will be two partitions (W95 FAT32 and Linux)
- Note the start number for partition two (you will need this latter - although it will probably still be on the screen)
- Use the "d" command to delete the 2nd and third partition
- Use the "n" to create a new partition. It needs to be the primary partition so type a "p". Now enter the Start Number recorded above and use the default for the last sector.
- type "w" to save the changes.
- Reboot
- Now use the resize2fs /dev/mmcblk0p2 (the mmcblk0p2 should be the PARTITION just created, not the entire drive used above) to complete the resize of the partition
One of the reasons I am doing this is to update my Microprocessor Class (2015 offering), but I still want to cover some ASM programming. So I decided to install NASM since it uses intel, not AT&T format ASM (and I am more familar with Intel). Installed the latest version, using the same instructions as I did for NANO but changing the curl command line to point to the latest version of the NASM software (http://www.nasm.us/pub/nasm/releasebuilds/2.11.06/nasm-2.11.06.tar.bz2).
I wanted a Linux version of the old DOS Debug program, found one called Assembly Language Debug and it looks pretty good. The documentation is NON-existant other than the help within the program itself. I dumped all the help to a HELP PDF.
To install and compile the ALD:
- untar using the command tar -xvzf ald-0.1.7.tar.gz
- change directory to the newly created directory (ald-0.1.7)
- ./configure
- make
- make install
(see below)
Assembly Language for Galileo / NASM
- ASM Tutorial (nasm / linux specific)
- Assembly Tutorial in PDF (ALT)
- Compile Instructions for NASM (end of page)
- NASM Manual
- Linux Syscall Reference (32 bit)
- Assembly Language Debug and PDF HELP [more info HERE]
Compile Script
Since the compile process is in multiple steps, I created a script that will compile and link the code (assuming NASM is in intel ASM). Copy the text from THIS LINK and paste it into a file named compile on the board. Make sure to make it a runable file by typing:To use the script, just type:
do NOT include the .asm file extention!
update
In 2016 I was asked to offer a Special Topics in the Internet of Things. Decided to do more in High Level Langague Programming (Python, C/C++, Java) so I needed to update the mraa library (libmraa0) and upm library. Used the following commands:opkg update
opkg install libmraa0
opkg install upm
[to check current version use the command opkg status package_name]
I also put the compile script on the image as well.
I then created a new image (including the ASM compile script). The new image is available here. To write to 8GB microSD card, just unzip and then use Win32 Disk Imager.
Intel Quark SoC X1000 resources
- Intel Quark SoC X1000 Series
- Intel Quark SoC X100 Datasheet
- Intel Quark SoC X100 Debug Operations
- Intel Quark SoC X100 Core
Intel IA-32 Resources
- Intel® 64 and IA-32 Architectures - Software Developer's Manual - Volume 1: Basic Architecture
- Intel® 64 and IA-32 Architectures - Software Developer's Manual - Volume 2 (2A, 2B & 2C):Instruction Set Reference, A-Z
- Intel® 64 and IA-32 Architectures - Software Developer's Manual - Volume 3 (3A, 3B & 3C): System Programming Guide
Intel 16 bit Resources
Intel Galileo resources
- Datasheet, Schematic, Description
- Support and resources
- Intel Makers community
- Getting started tutorial
- Projects and examples
Galileo Development Kit Links
Getting Started with Galielo Development KitGrove Starter Kit Links
Kit Order PageKit Info Page
Gen 2 Kit Info Page (not what we have, but does have some relevent links)
| Image | Grove Info Page | Support Doc(s) |
 | Base Shield | Wiki |
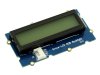 | LCD with RGB Backlight | Wiki AIP31068L (LCD w/RGB Backlight) PCA9633 (RGB Cnt) HD44780 (Most Popular LCD Driver) |
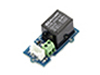 | Relay | Wiki |
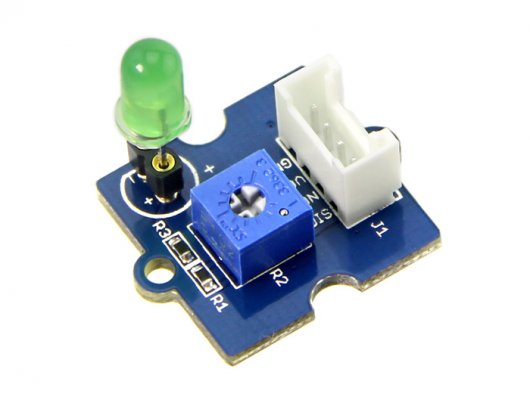 | LED Socket Kit | Wiki |
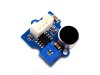
 | Buzzer | Wiki |
 | button | Wiki |
 | Light Sensor | Wiki |
 | Touch Sensor | Wiki |
 | Temperature Sensor | Wiki |
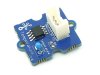
 | Sound Sensor | Wiki |
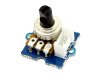 | Rotary Angle (Potentiometer) | Wiki |
 | 9v Jack | |
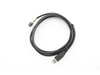
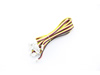 | Grove Cable | |
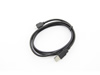 | Micro USB Cable | |
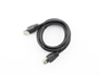 | Ethernet Cable | |
 | Serial Cable (1/4 audio jack) | Wiki |
Software / Library Documentation
MRAA Documentation - Libmraa is a C/C++ library with bindings to Python, Javascript and Java to interface with the I/O on GalileoMRAA Python Examples
UPM Documentation - UPM is a high level repository for sensors that use MRAA.
Sensor Code Eamples - C/C++, Python and Java
LCD Code Info
Light HTTP Documentation - Installed with Yocto Linux
Python Web Server
dekohn@memphis.edu
last update: 1/5/18